The safety and security of your home or business start with something as seemingly mundane as your garage door sensors. Often overlooked, these small yet critical components play a pivotal role in safeguarding not just your property, but the people within it. Imagine for a moment the importance of a well-functioning garage door: it’s not merely a portal for vehicles and belongings, but a barrier between the outside world and the sanctuary of your home or the operations of your business.

In this guide, we will delve into the world of garage door sensors, exploring their vital role in ensuring the safety and functionality of your garage door system. From understanding their basic functions to troubleshooting common issues, we’ll equip you with the knowledge needed to ensure that your garage door sensors are always in optimal working condition. So, let’s embark on this journey to unlock the secrets behind these unsung heroes of garage door operation.
Table of Contents
What Are Garage Door Sensors?
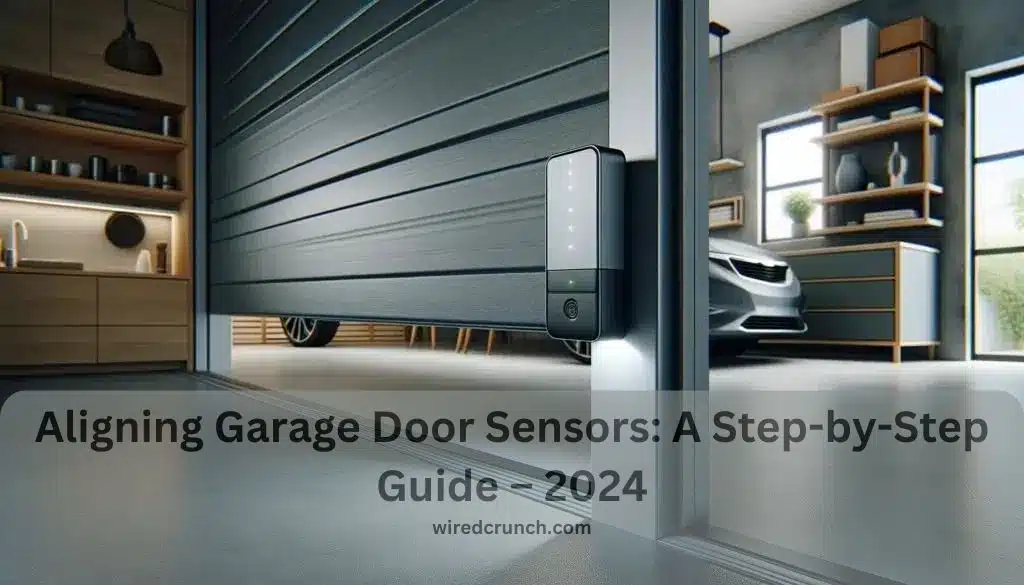
Garage door sensors, also known as photoelectric sensors or safety sensors, are essential components of modern garage door systems. Typically installed near the bottom of each side of the garage door opening, these sensors work in tandem to detect any obstructions in the path of the closing door. Consisting of a transmitter and a receiver, they emit an invisible beam of infrared light.
When this beam is interrupted by an object or person crossing the doorway, the sensors send a signal to the garage door opener, prompting it to halt or reverse the door’s movement, thus preventing accidents or damage. Essentially, garage door sensors serve as the first line of defense against potential collisions, ensuring the safety of both property and individuals.
Note : Properly aligned sensors are crucial for ensuring the safety of people and property. By accurately detecting any obstacles in the path of a closing garage door, aligned sensors prevent accidents and injuries. Whether it’s a vehicle, a pet, or a person inadvertently crossing the doorway, well-aligned sensors promptly signal the garage door opener to halt or reverse its operation, averting potential collisions and damage.

Requirements For Garage Door Sensor :
- Inherent Entrapment Protection: The door must feature RPM sensors that will cause the door to reverse if it comes into contact with an obstruction as it’s closing.
- Secondary Entrapment Protection: Secondary sensors, which are typically photo-electric eye sensors, are required. These should detect any obstruction in the path of the door that’s 6 inches or taller. If an obstruction is present, the door will refuse to close.
- Manual Release Cord: The garage door must have a manual release cord that allows you to disconnect the door from the motor in an emergency. This cord typically hangs from the rail of the garage door.
- Wireless Technology: Any wireless technology that’s incorporated in the system must meet the previous standards and prevent the door from closing when an obstruction is present. Garage doors may not use any form of technology that allows the user to force the door to close despite an obstruction.
Steps To Aligning Your Garage Door Sensors Properly :
Step 1 : Turn off the Sensors by Disconnecting the Power Supply to Your Garage
Turning off the sensors by disconnecting the power supply to your garage enhances safety, reduces the risk of false signals, facilitates adjustment, and helps prevent damage during maintenance or troubleshooting activities. Always remember to follow proper safety protocols and consult your garage door manufacturer’s guidelines when working on your garage door system.
Step 2 : Remove the screws holding the sensors in place
To remove the screws holding the sensors in place, use a suitable screwdriver to carefully loosen and unscrew each screw securing the sensor brackets to their mounting surface. Be sure to support the sensors as you remove the screws to prevent them from falling or becoming damaged.
Step 3 : Slide the garage door sensors to the bottom
Gently slide the garage door sensors downwards towards the bottom of their respective mounting brackets. This movement allows you to disengage the sensors from their current position, providing more flexibility for adjustment or maintenance. Take care to slide the sensors smoothly and evenly to avoid any strain on the sensor wiring or components.
Step 4 : Tie The knots and attach the string
To tie the knots and attach the string, first, select a durable and secure knot, such as a double knot or a figure-eight knot, to ensure the string remains firmly attached to the sensor. Once the knot is tied securely, carefully loop the string around the sensor housing or mounting bracket, ensuring it is snug but not overly tight.This step ensures that the string provides reliable support for the sensor, aiding in its stability and alignment within the garage door system.
Step 5 : Examine the string’s level
Use a spirit level or a similar leveling tool to check that the string is perfectly horizontal or vertical, depending on the desired alignment of the sensors. Adjust the tension of the string or the positioning of the sensors as needed to achieve a level alignment. Ensuring that the string is level is essential for accurate sensor alignment, which is crucial for the effective operation of the garage door system.
Step 6 : Remove the String and Reconnect the Power
To remove the string, carefully untie any knots securing it to the sensors and gently slide it off. Take care to avoid damaging the sensors or their wiring during this process. Once the string is removed, reconnect the power supply to your garage door system by reattaching any disconnected wires or cables and restoring power to the opener unit. This step allows the garage door sensors to resume normal operation and enables you to test their functionality. Ensure that all connections are secure and that the power supply is properly restored before proceeding.

Troubleshooting – Aligning Garage Door Sensors
Lack of power :
Absolutely, power issues are indeed a common problem with garage door sensors. If the sensor is disconnected from its power source or if there’s a power outage, it won’t be able to function properly. Checking the power supply and ensuring proper connection is a good first step in troubleshooting sensor issues. If the sensor lights are off entirely, it’s a clear indication that there’s a power problem that needs to be addressed.
Faulty garage door sensor alignment :
When the sensors are misaligned, even slightly, they may fail to detect obstacles properly, leading to malfunctioning or incomplete door closures. To address this problem, ensure the sensors are securely mounted, parallel to each other, and free from any obstructions. If misalignment is detected, gently adjust the sensor positions until they align correctly. Testing the door after adjustments can help determine if the issue has been resolved, but seeking professional assistance may be necessary if problems persist.
Dirty sensor lenses :
Dirty sensor lenses can hinder the proper functioning of garage door sensors by obscuring their ability to detect obstacles accurately. Regularly cleaning the lenses with a soft, dry cloth can prevent this issue, ensuring that the sensors maintain their effectiveness in detecting objects in the door’s path. If cleaning the lenses doesn’t resolve the problem, further investigation or professional assistance may be required to address any underlying issues.
Damaged wires to the sensor :
Damaged wires to the sensor can impair its function, leading to garage door malfunctions. Regularly check for damage and repair or replace compromised wires promptly to maintain proper operation.
Moisture around the sensors :
Moisture around the sensors can interfere with their functionality, causing them to malfunction. Ensure the sensor housing is sealed properly and free from cracks or gaps where moisture can enter. Additionally, periodically check and dry the sensor area to prevent moisture buildup. If moisture-related issues persist, consider using moisture-resistant sealants or consulting a professional for further assistance.
Garage Door Sensor Alignment Matters:
- Safety: The sensors are designed to detect any obstruction in the path of a closing garage door. Misalignment can make this detection faulty.
- Functionality: A door that doesn’t close or open properly can be traced back to sensor issues in many cases.
- Peace of Mind: Knowing that your garage door will function without hitches adds to your home’s overall security.
Conclusion
In conclusion, aligning garage door sensors is a crucial maintenance task to ensure the smooth operation of your garage door system. By following the step-by-step guide outlined above, you can effectively troubleshoot and correct sensor misalignment issues. Remember to check for proper alignment, clean sensor lenses, inspect for damaged wires, and address any moisture buildup around the sensors. Regular maintenance and attention to these details will help keep your garage door functioning safely and reliably for years to come.
Frequently Asked Questions (FAQs):
How regularly have to I investigate my storage door sensor alignment?
Checking your garage door sensor alignment regularly is a good practice to ensure the continued smooth operation of your garage door system.Additionally, it’s a good idea to perform a thorough inspection after any major weather events or if you accidentally bump into the sensors while moving items in and out of the garage. Regular maintenance helps catch any misalignments early and prevents potential problems down the line.
Is it feasible to apply a laser pointer as opposed to a string to direct the sensors?
Using a laser pointer to align garage door sensors is feasible and can be more convenient than using a string. The laser provides a precise visual reference, making it easier to align the sensors accurately. However, ensure the laser pointer is stable and securely positioned to maintain accuracy during alignment. Additionally, be cautious of any potential hazards, such as aiming the laser directly into your eyes or causing interference with nearby sensors or devices.
Is there something else I can do to make sure the protection of my garage door?
Yes, you can install a garage door lock, upgrade to a smart opener, use security cameras, strengthen door panels, secure the opener remote, and maintain regular maintenance.


